云顶娱乐官方网址
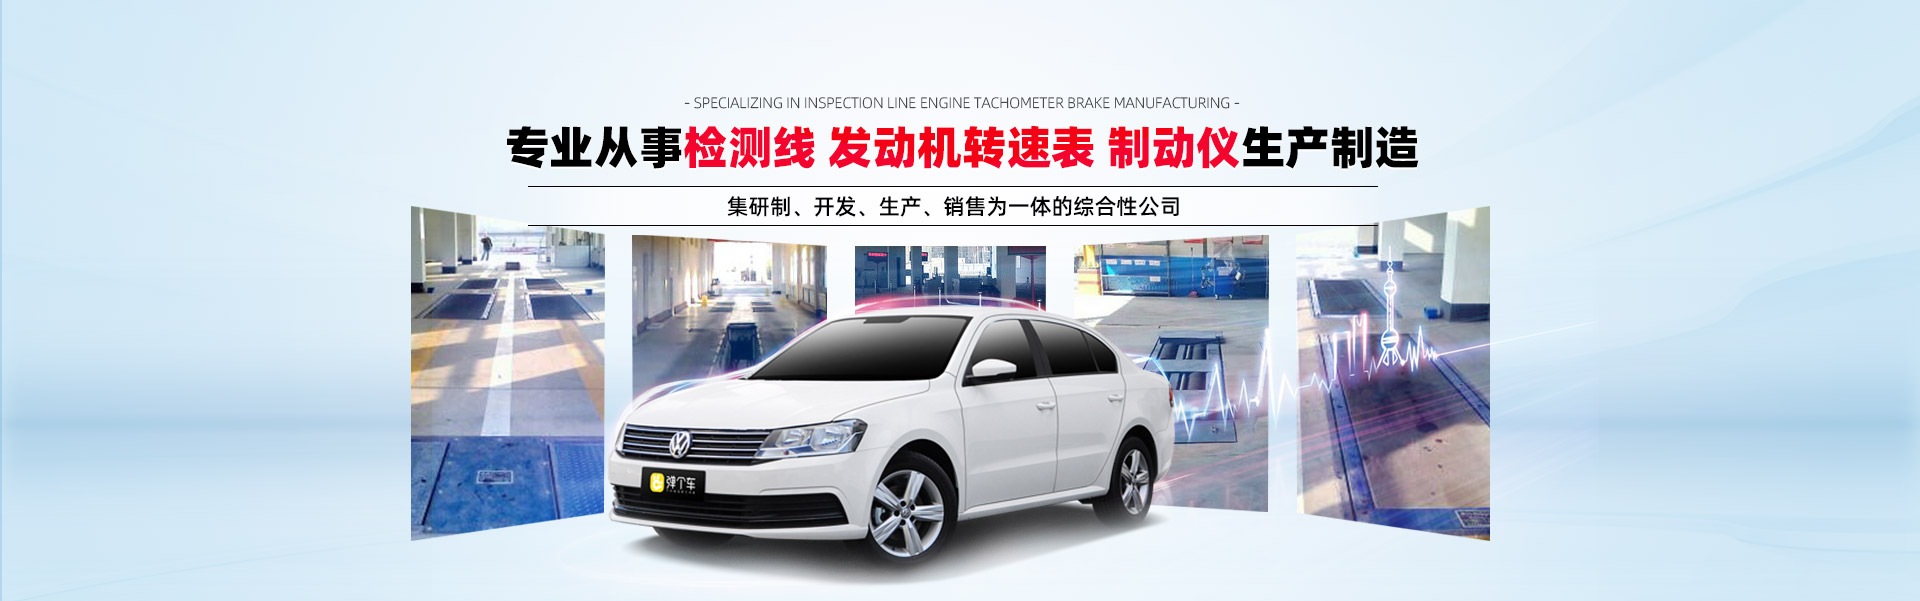
专业从事云顶娱乐官方网址、发动机转速表生产制造
- 机动车检测线价格合理、产品优异、原理简单深得客户好评 -

云顶娱乐官方网址
云顶娱乐官方网址的先容:检测线方便了车辆的维修,使车辆处于可靠、环保的环境中。 一、发展历程:...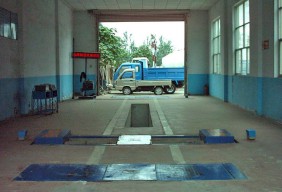
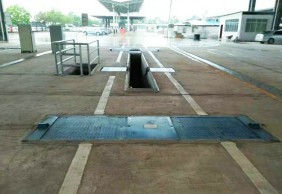
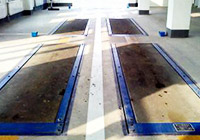
机动车检测线
机动车检测线一般是指以微机为基础而设计制造出来的一种新型检测系统。它是以微处理器作为控制单元,能把系...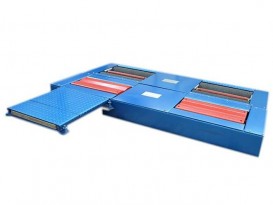
电动车检测线
电动车检测线机体采用整体焊接,强度高,无需地脚螺栓安装,调试方便;布局合理先进、测量准确,操作...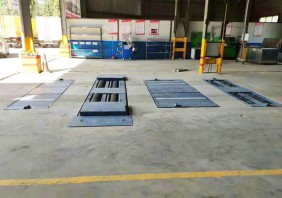
综合性能检测线
汽车综合性能检测是汽车运输业车辆技术管理的主要内容之一,是科学技术进步与技术管理相结合的产物,是检查...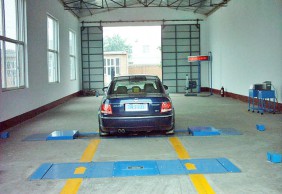
二级维护检测线
用途及性能 LZJ-2000型汽车综合性能检测线及汽车二级维护、4S店、3S店全自动检测线。它以计...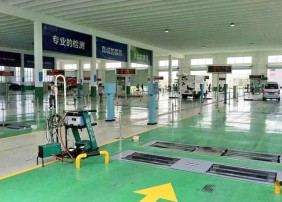
安全性检测线
1、安全性能检测侧重于安全性能方面的项目,综合性能检测是包括安全性能在内的多个项目的检测。 2、安...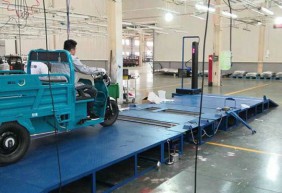
三轮摩托车检测线
电动三轮车检测线检测适应车型: 用于检测三轮摩托车、电动三轮车。 电动三轮车检测线检测项目:前后...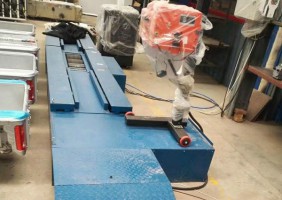
二轮摩托车检测线
根据国标GB7259-2004的标准,检测制动、轴重、车速表、轮偏、前照灯、废气、声级项目。摩托车检...

-

-
淄博电子科技有限企业
Zibo Electronic Technology Co., Ltd.
淄博电子科技有限企业是一家从事检测线(包括机动车检测线,电动车检测线等)、云顶娱乐官方网址、发动机转速表、制动仪生产制造的专业厂家,研发的各类检测线价格合理、探伤仪、烟度计产品优异,发动机转速表工作原理简单,制动仪等系类深得客户好评。同时企业是专业的从事汽车检测线、检测设备、检测系统、网络化管理的经济实体,是集研制、开发、生产、销售为一体的综合性企业。以诚信、敬业为本,以科技创新为动力,以优异的产品奉献社会。

-
技术力量雄厚
从事检测线、发动机转速表、制动仪生产制造的专业厂家。
技术力量雄厚,设计开发出适合我国国情的检测设备,
集汽车行业、云顶娱乐官方网址之精华

-
经验丰富
多年的行业经验积累,形成了集研制、开发、生产、销售为一体的综合性企业
为您提供一站式产品服务,让您得到适合您的产品

-
专业化管理流程
专业化管理流程,严格按照质量认证体系实行,生产的每台设备及零件均精心科学设计,精心制作,严格检验!
质量稳定,设计专业,让您花较少的钱做有效的投资。
-
完善的质量检测
大家积累了丰富的机动车检测线,电动车检测线技术经验,具有相当的生产实力,完善的质量检验保证体系。
以质量管理为中心, 确保每一个出厂的产品质量合格。
-
专业的研发团队
同欧洲一些具有国际先进水平的企业保持着交往和信息共享,并与国内多所大学和科研单位保持着长久的技术合作关系,共同研制、开发。
全国各大中城市的汽车检测、修理部门广泛配置了我企业的产品
-
无微不至的售后服务
拥有专业的客户团队,为您提供专业服务。拥有专业的技术研发团队,为您提供专业的技术引导
为客户创造价值,全新全意为客户服务,将质量意识融入每一个工作细节。

机动车检测线「小常识」
是利用现代化的光机电和计算机测控技术,对道路行驶机动车的安全、环保等性能进行检测的自动流水化作业线。车辆类型主要包括:摩托车检测线、汽车检测线、特种车检测线、电动车检测线。
【高品质检测,全自动检测流水线】
技术答疑
MORE+
如果是利用机动车检测线来检查机动车的外观是可以进行的,但是大家一定不了解其中的方法和步骤。以下就是小编所总结的相关步骤一起来了解一下吧。
1、到达机动车检测线进行外观检测...
机动车检测线在长时间的使用之后多少都会出现一些问题,发热就是比较常见的情况这是比较正常的现象,如果出现故障可能就是检测线内部轴承的问题下面大家来了解下怎么排查是不是轴承的问题:...
车辆出厂前都会使用新车检测线对汽车各部位进行外廓检测,详细判断各部件的安装情况,安装的位置需要合理而且固定点需要有足够的强度。云顶娱乐官方网址对车辆外观检测在新车检测线中的重要性...
联系大家
联系人:经理 手 机:

地址:山东省淄博市高新区

淄博电子科技有限企业
 备案号:鲁ICP备19059572号-1
备案号:鲁ICP备19059572号-1友情链接:
汽车检测线 青岛空压机 微量水分测定仪 氮化硅铁 三轮车检测线 锂离子电池 电缆输送机 漆膜仪 行星减速机 三辊卷板机 储油罐 硬齿面齿轮减速机 PPH储罐 真空机组 布袋除尘器厂家 磁滚筒 空调风轮 导电炭黑厂家 减速机厂家 硫酸锌 输送机厂家 软水盐 防腐带 板式换热器 布袋除尘器厂家 螺带混合机 复合自保温砌块 屏蔽泵厂家 平口塑料袋 塑胶地板施工 临淄搬家企业 煤气烧嘴